Managing email auto protector
For a video tutorial of this topic, see our adoption portal.
This section covers managing the Email Auto Protector and creating and editing rules.
Managing rules
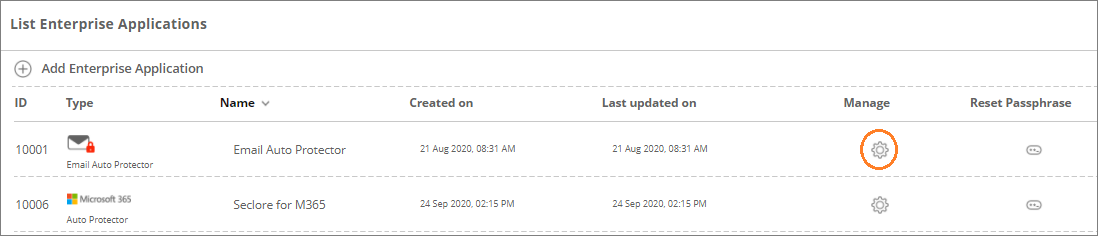
Click the gear icon under the Manage column against the desired Email Auto Protector EA.
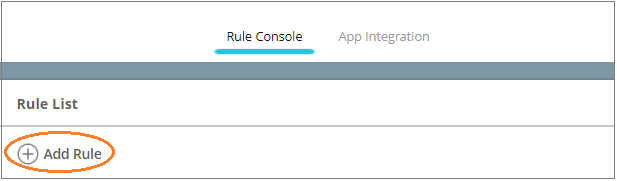
Click Add Rule.
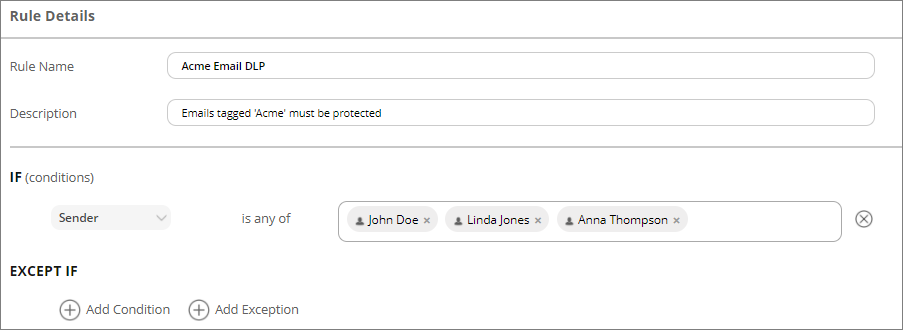
Configure the rule details on the next page.
You can also extend the recipient's access to all the users within their organization.
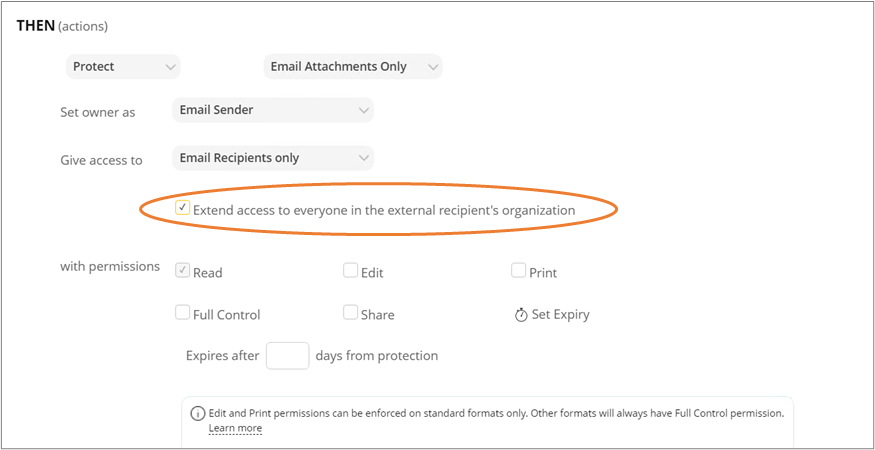
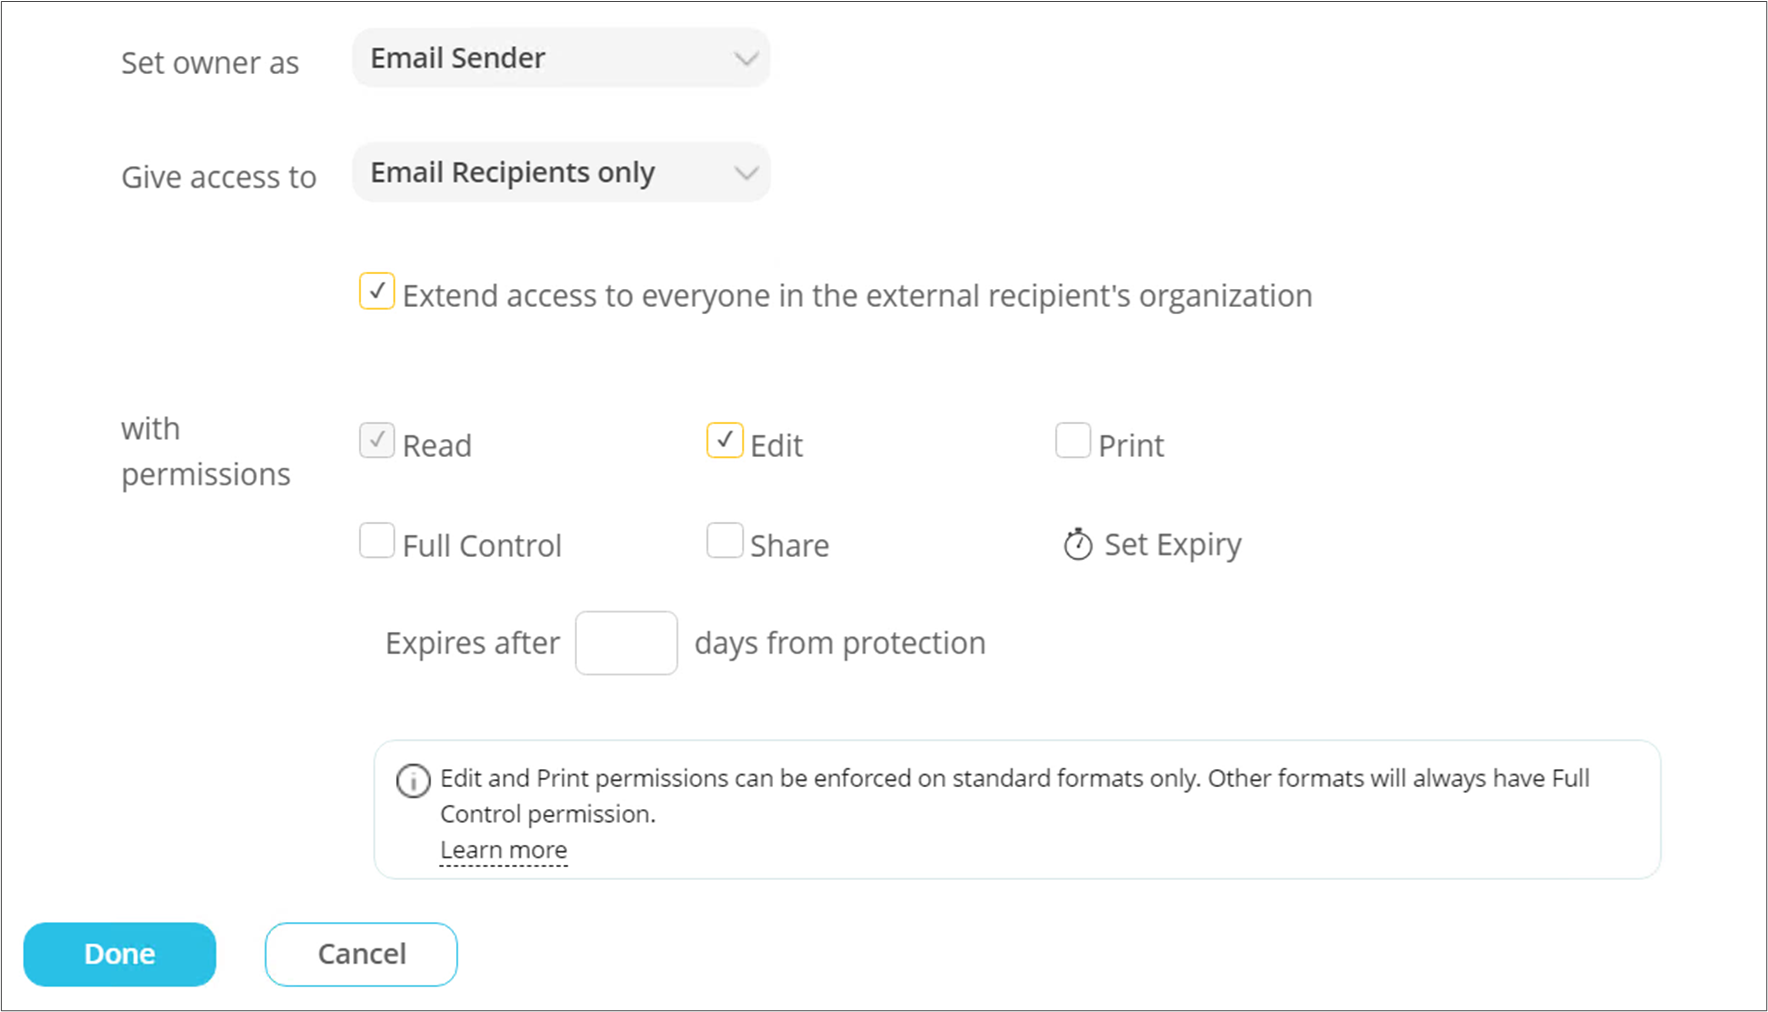
*If any external domain is in the ‘deny list’ in the Policy Server portal, the individual recipients will get the permissions; however, permissions won’t get extended to other users of that domain.
Click Done to set the rule. Then click Save and Apply Changes to save the changes.
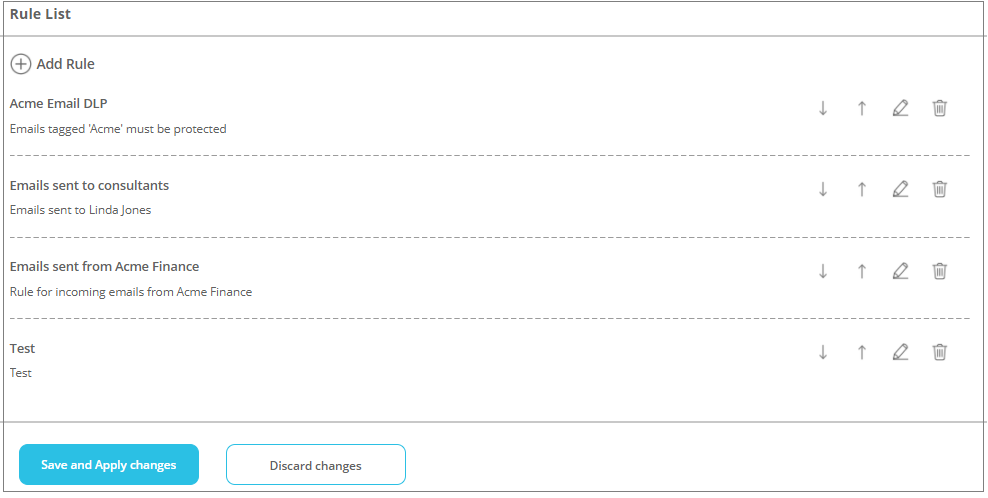
Multiple rules can be configured. They will be executed in order - starting from the top. Use the arrows to the right of every rule to change its position.
Note that rules will not be saved to the server unless you click Save and Apply Changes.

The ‘Last Synced’ date and time will help you in determining whether the changes made to Email Auto Protector rules have been implemented for end users.
The ‘Last Saved’ date and time will assist you in identifying when the rules were last modified.
Setting a default owner
Click Settings on the left pane.

Select a default owner on this page. This owner will be set for protected files if the system fails to identify the configured users in the Email Auto Protector rules.